

Deploying a free Static Website and a working contact form in seconds with Netlify


If you've got your self a coding portfolio or a coding project and its sitting in your git-hub repository, and you've really haven't found a way to send it to someone, maybe you are applying for a job or something you don't really expect your recruiter to go into you repo start cloning or downloading the zip file. Not everyone has the time to do that what you need is a repo URL that one can quickly click on and view your project.
To host your site, you should have a full understanding of how github works, creating repo , cloning pushing and the rest, which won't be covered here.
Note: you can do this manually but if you do that you are going to miss you on what Is called continuous deployment, so it very important you have all your code in a source control
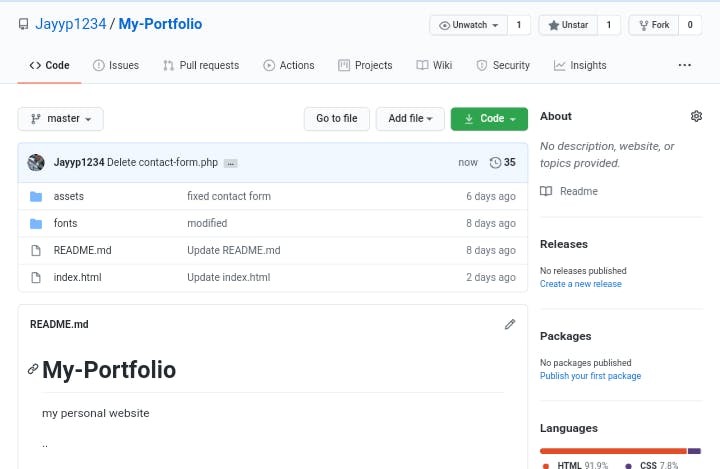 Above is an image of a fully loaded repo waiting to be hosted there now,
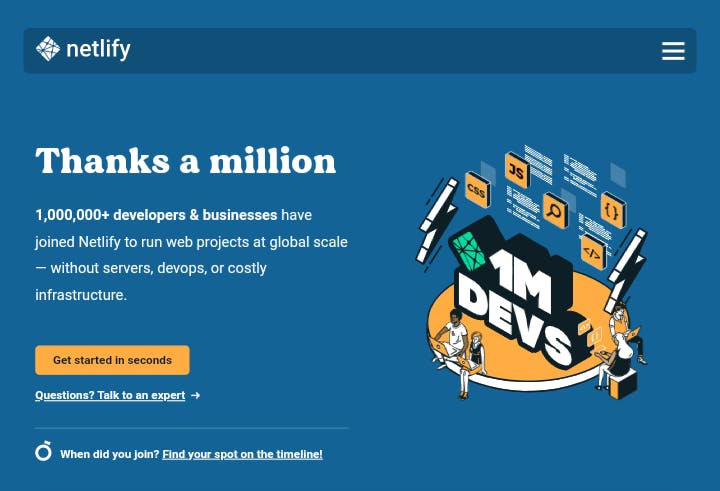
Go to netlify.com
Above is an image of a fully loaded repo waiting to be hosted there now,
Go to netlify.com
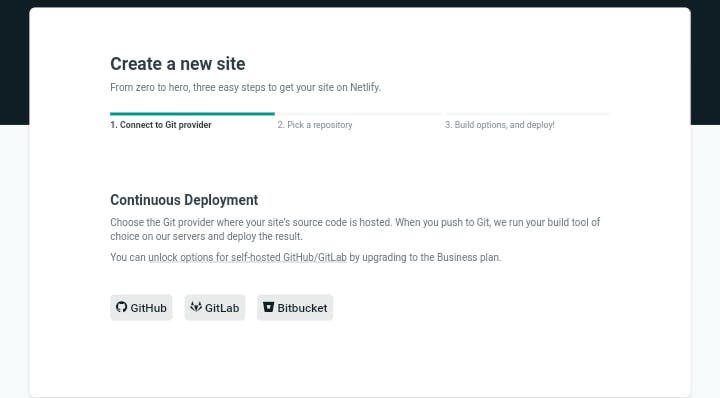
Click on get started in seconds
Sign Up
- Click on New Site from Git
Click on Github
 after verifying you github account
 Search for your repository name

After deploying your site it takes seconds to deploy

- And voila you have your hosted URL
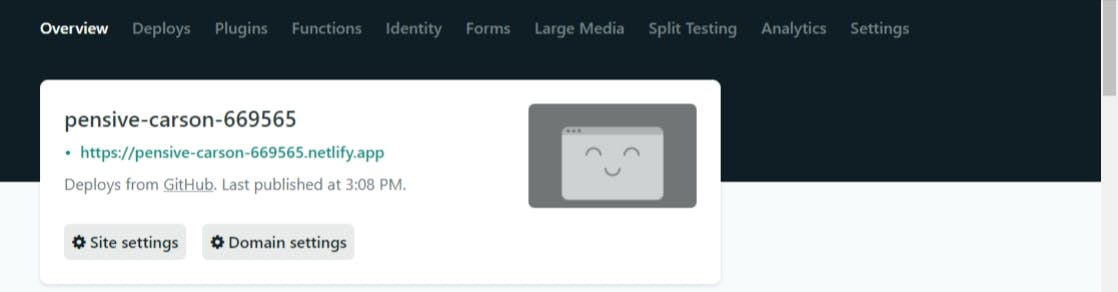 yes its that simple 🤗🤗🤗.
The best part is once you update you git status maybe make some changes and all to your repository it automatically gets uploaded. Netlify Comes with more other features you can even change the URL name in the settings to a more suitable one.
Adding the form feature on your static Website
One of the major disadvantage of using netlify to host your site is that Netlify site is deployed to a CDN and serves up static content and although you can run PHP at the time of a deploy, you cannot execute PHP during a page request. I had this major problem when I created my first project and I was trying to build a personal portfolio, working on the contact form I spent weeks learning how to use php to validate forms and all, to my utmost disappointment netilfy couldn't run it. But now with with a simple addition of forms attribute you can easily do that.
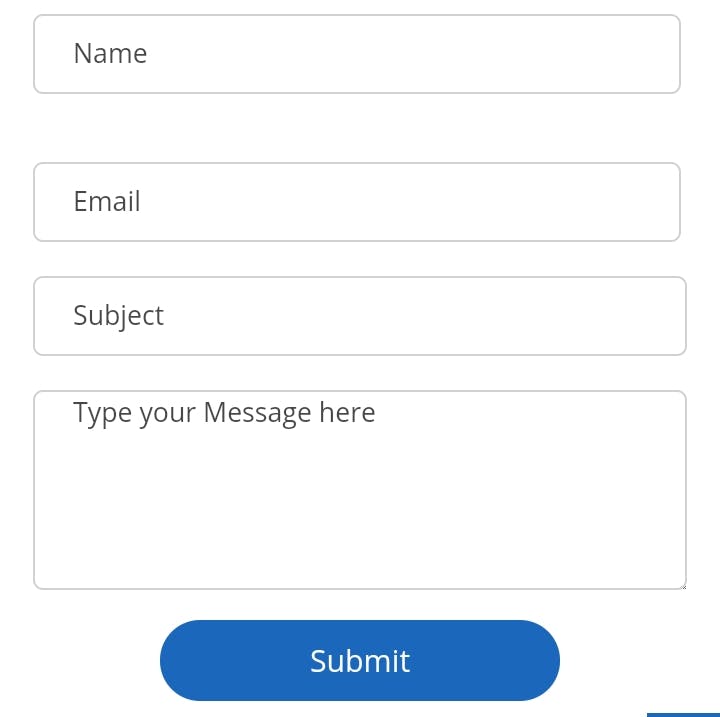
Now this is a fine piece of a well designed form, let's go and look behind the scene.
- Open your form add and add the action attribute with a value of POST then add data-netlify with a value of true just like this
<form action="POST" data-netlify="true" >

</form>
- Add your input tags with any attribute you want place holder's and the rest the only thing important here is the name attribute it has to have a value of what title you want the form data to appear in either you netlify account or email
<form action="POST" data-netlify="true" >

         <input type="text" name="name" placeholder="Name"  id="firstName" class="first-name" >

         <input type="text" style="margin-left: auto;" name="email" placeholder="Email" id="lastName"  class="last-name"><br>

           <input type="text" name="subject" placeholder="Subject" id="projectName" class="project-name">
        <textarea class="description" name="message"   placeholder="Type your Message here" id="projectDescription" class="project-description"></textarea>
        <input type="submit" value="Submit" name="ContactUS" class="submit-response"></form>
And that's all you need
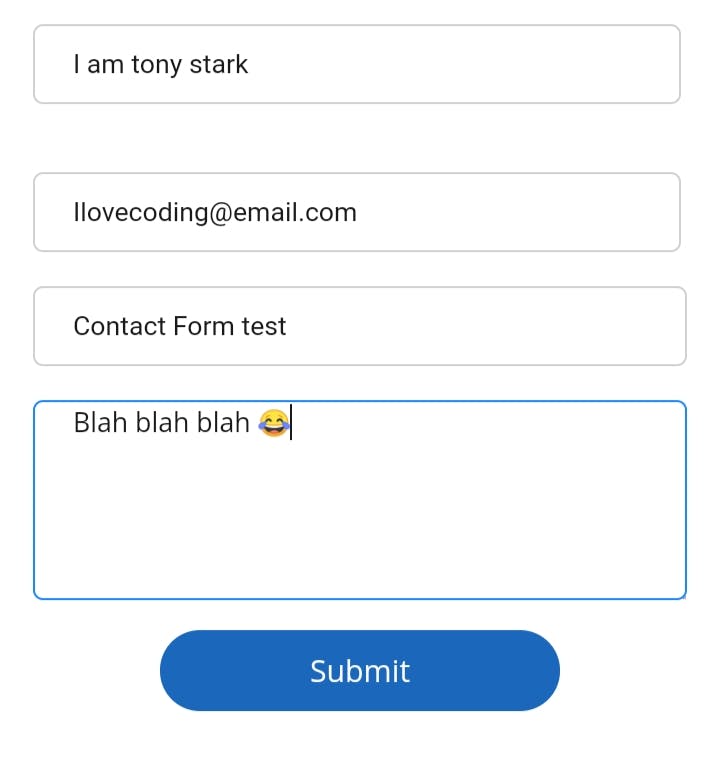
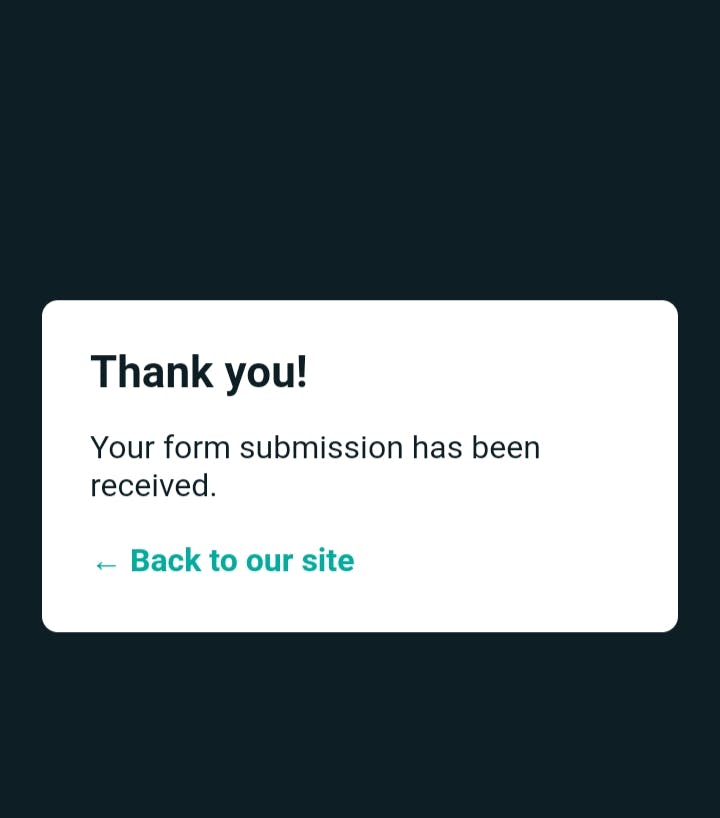
Go to your hosted url to test the form
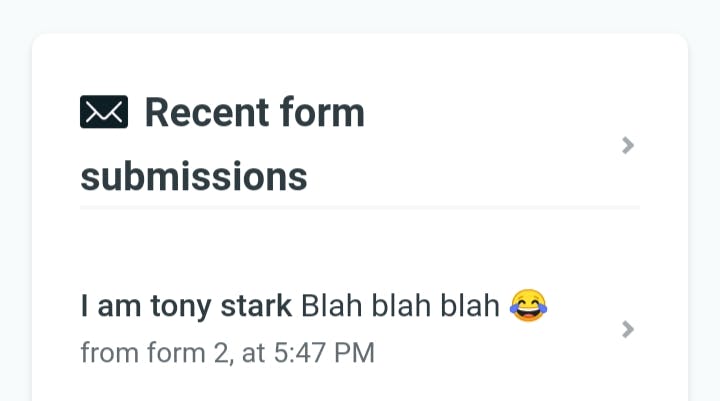
-- Go to your netlify account click on the deployed site and scroll down to recent form submissions to read your forms input
 And there you have it 🤭🤭🤭, the last part would be
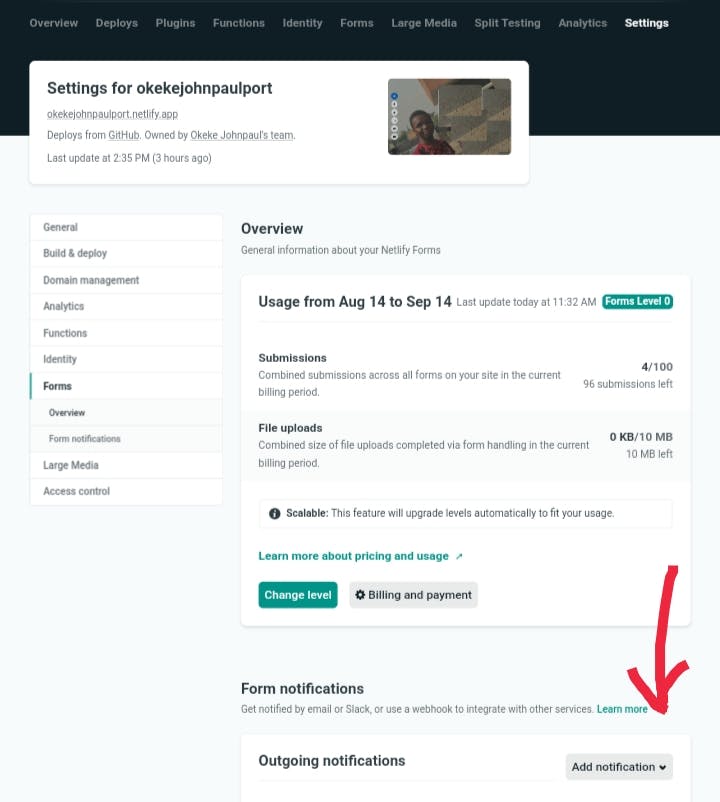
Linking your contact form to your email
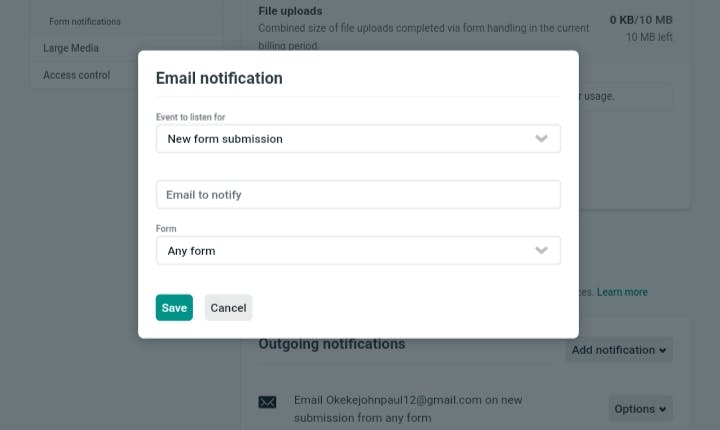
- Still on netlify your deployed site go to settings and click on forms then add Notifications
- Click on add email and save it
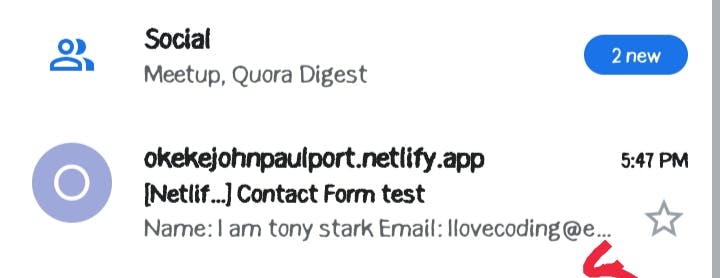
- Done any message henceforth would go directly to your email
Thanks